Colourful Craft Tutorial - Making a Tin Can Pen Pot
Posted on
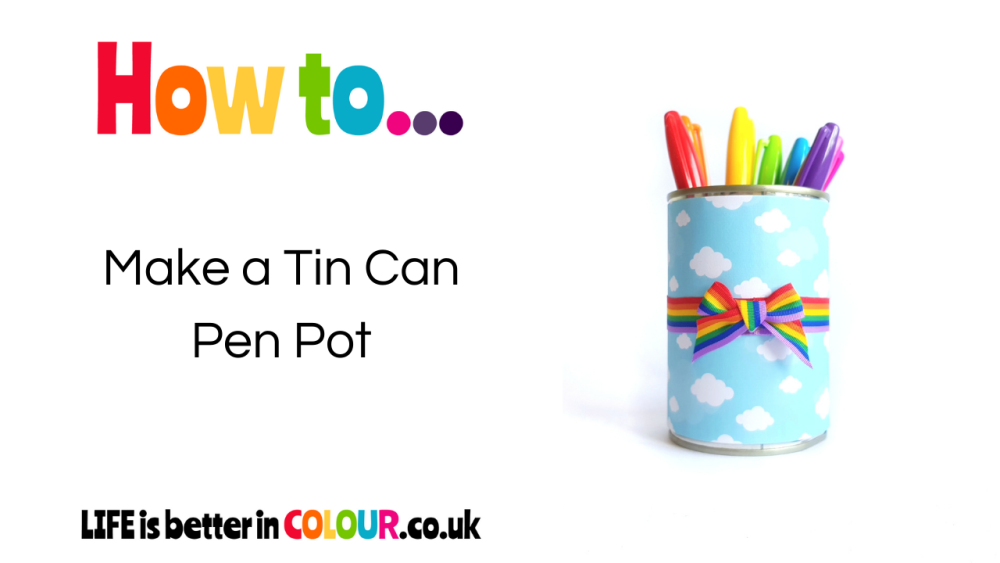
Today we're making a cute DIY pen pot from an old tin can and some wrapping paper!
This eco friendly craft tutorial is super quick and super colourful, and you don't need any specialist equipment...
Click to watch the 'How to make a Tin Can Pen Pot' video on my YouTube channel, or scroll down for all the instructions on individual slides...
You can make this tin can pen pot with any scraps of good quality wrapping paper and leftover ribbon... But if you want to buy the exact Cloud Wrapping Paper and Rainbow Ribbon I use, they are both available from my online shop!
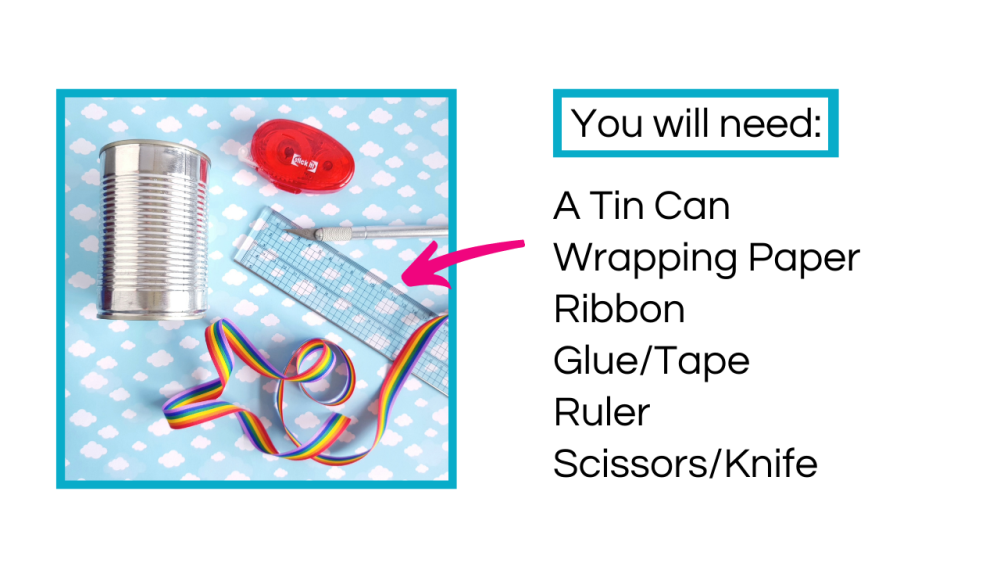
TOP TIP: Make sure the tin can you choose is really, really clean and doesn't have any sharp edges. Use an old emery board or sandpaper to file down the edge of the metal.
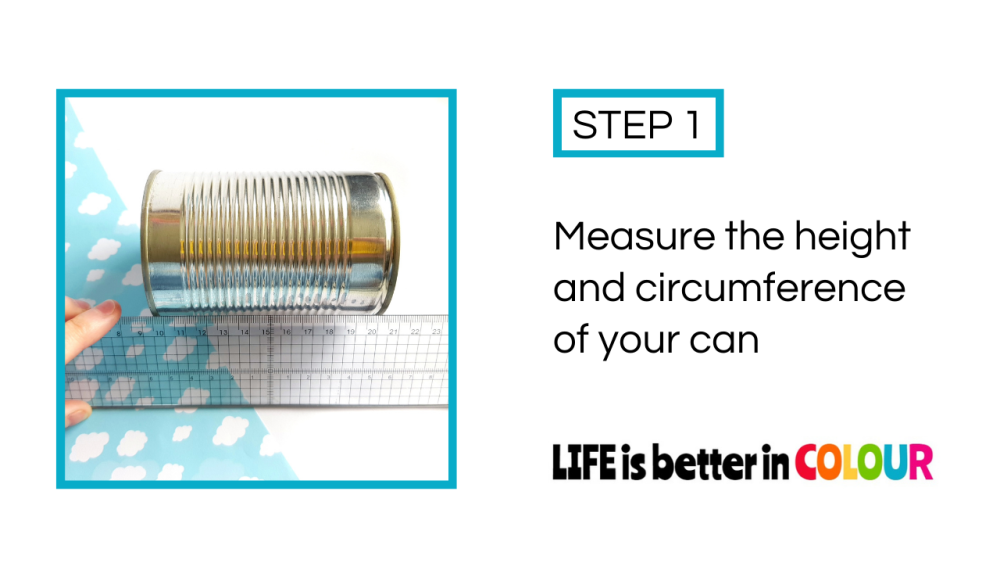
Step 1: Measure the height and circumference of your tin can. I decided to leave a thin border of can showing at both the top and the bottom. The measurements for my standard baked bean tin were 10cm high x 24cm circumference.
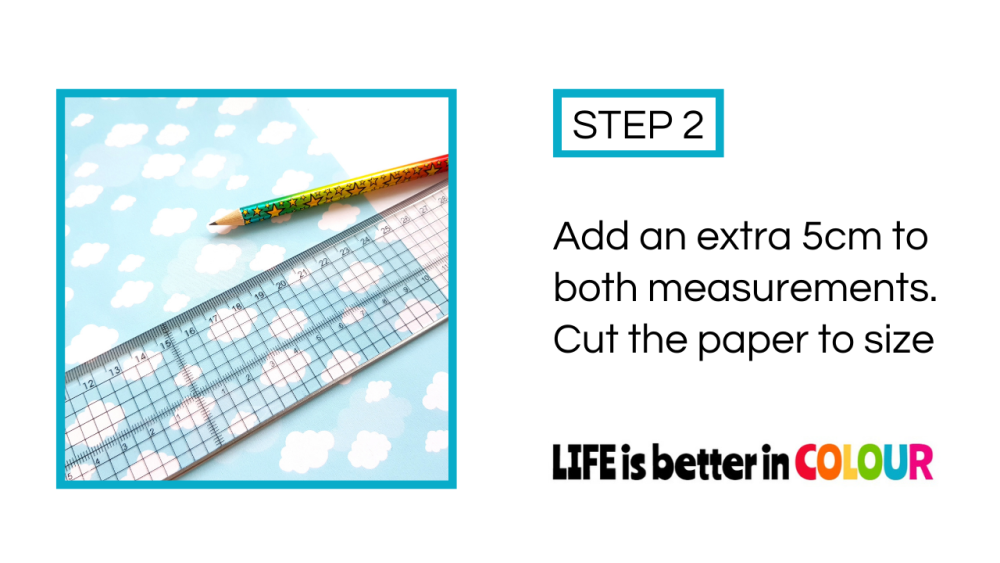
Step 2: Add an extra 5cm to both measurements, then cut out a rectangle that size from your wrapping paper. (You can use scissors or a craft knife for this step)
TOP TIP: If your paper has an obvious pattern, make sure to cut the rectangle so the pattern will be the right way up when you wrap the paper around the tin.
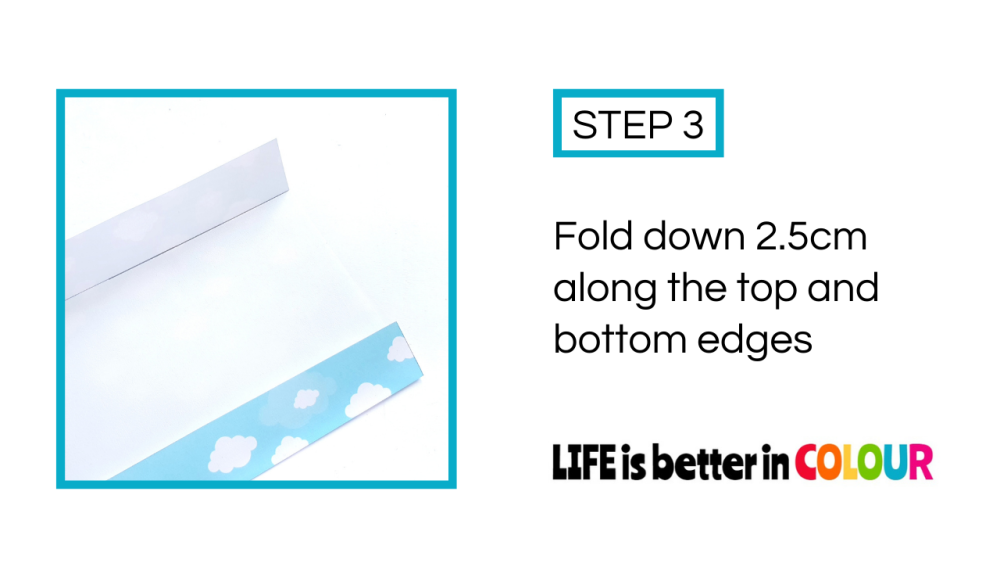
Step 3: Fold down a 2.5cm flap from both the bottom and top edge of the rectangle. To get a nice clean edge you may want to lightly score the line before you fold it. (You can use a blunt craft knife, the edge of your scissors or a bone folder to do this)
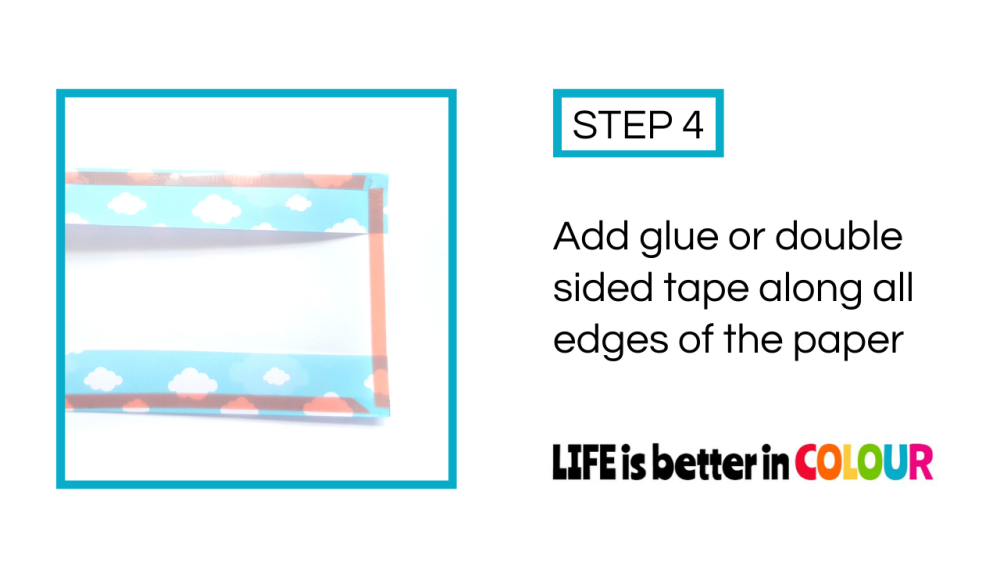
Step 4: Add glue, permanent tape roller or double sided tape to the wrong side of the paper, around all of the edges.
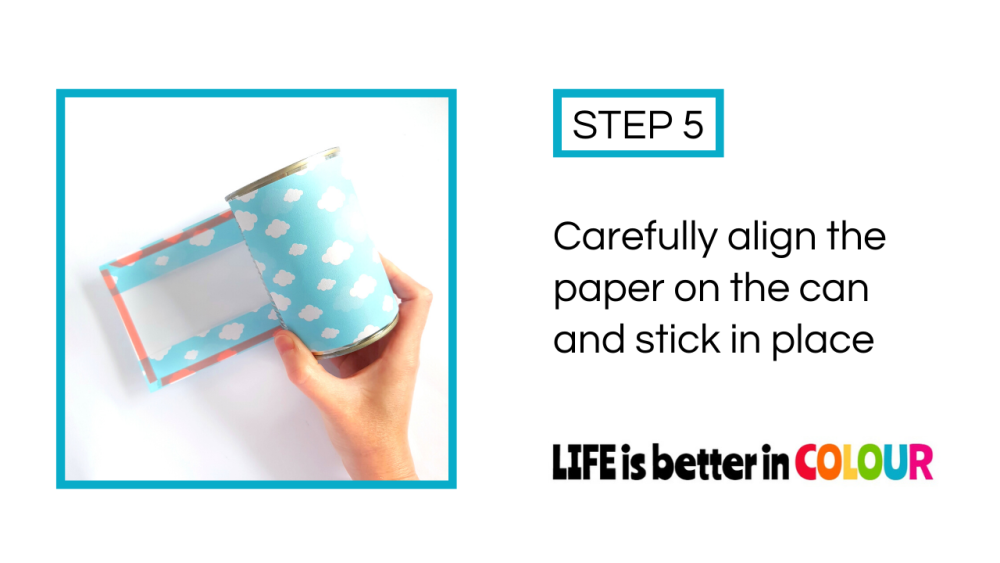
Step 5: Carefully align the paper on the tin can and roll the can around in your fingers to stick the paper in place. You may need to gently hold the paper in place until the glue has a chance to dry.
TOP TIP: Make sure to keep an even tension on the paper as you roll the can around. This will help ensure the paper sticks to the can without any bumps or wrinkles!
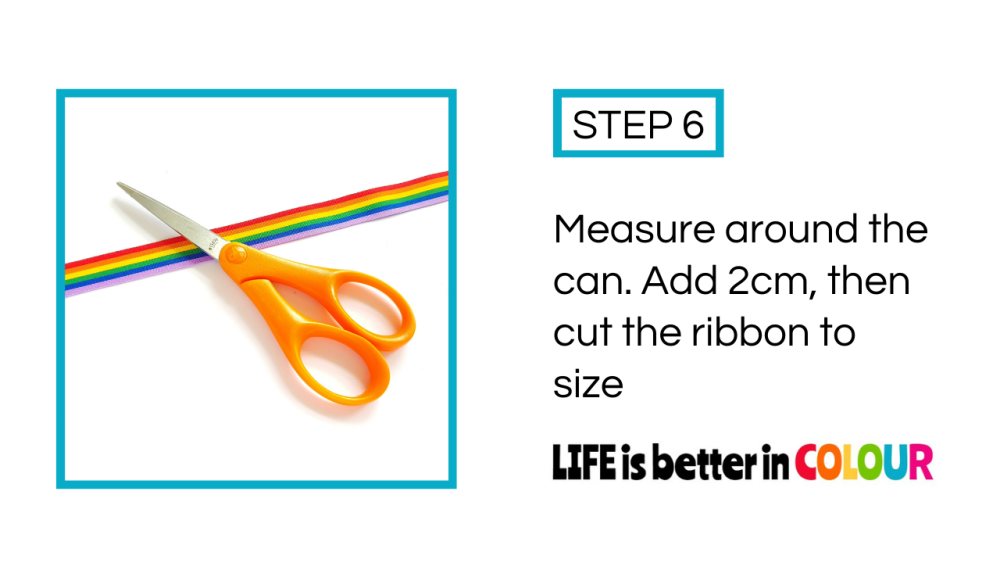
Step 6: Cut the ribbon to size. (Use the measurement for the can's circumference plus an extra 2cm)
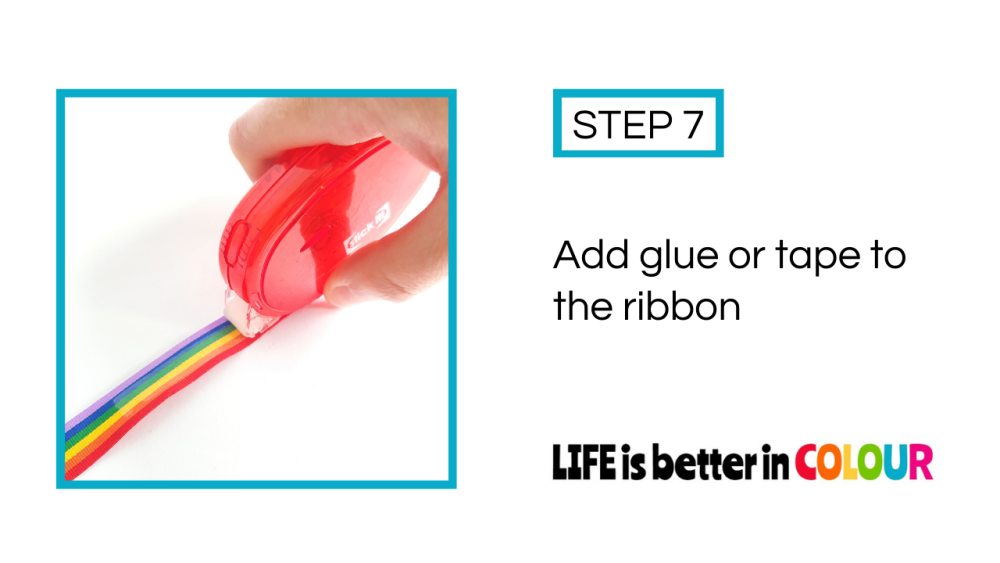
Step 7: Add glue, permanent tape roller or double sided tape to the length of the ribbon.
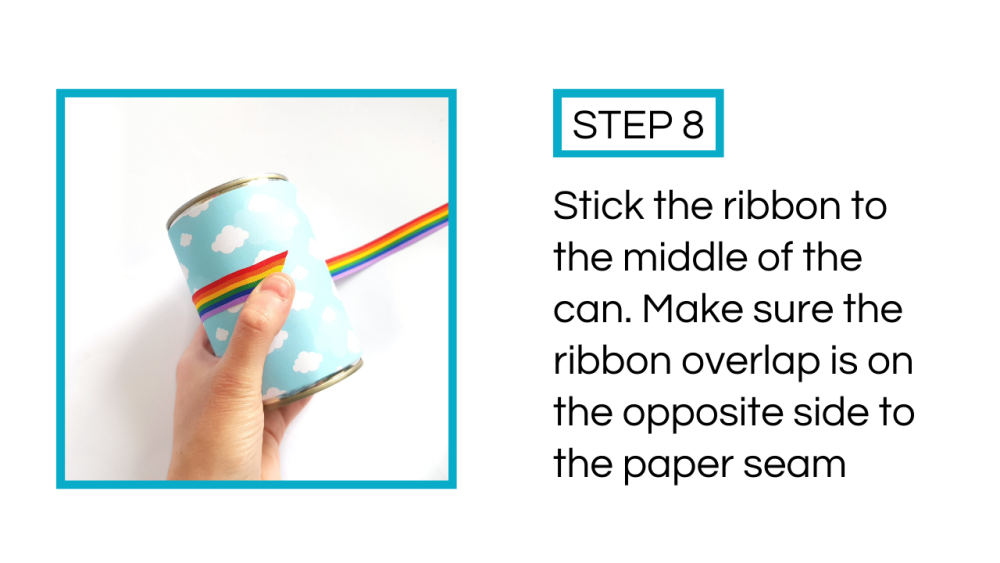
Step 8: Stick the ribbon to the middle of the can. Remember if you want to avoid bumps or wrinkles make sure you keep an even tension on the ribbon as you roll the can around.
TOP TIP: Start by sticking your ribbon down on the opposite side of the can from where the paper overlaps. This means your decorations will always be on the front and the seam will be out of sight at the back.
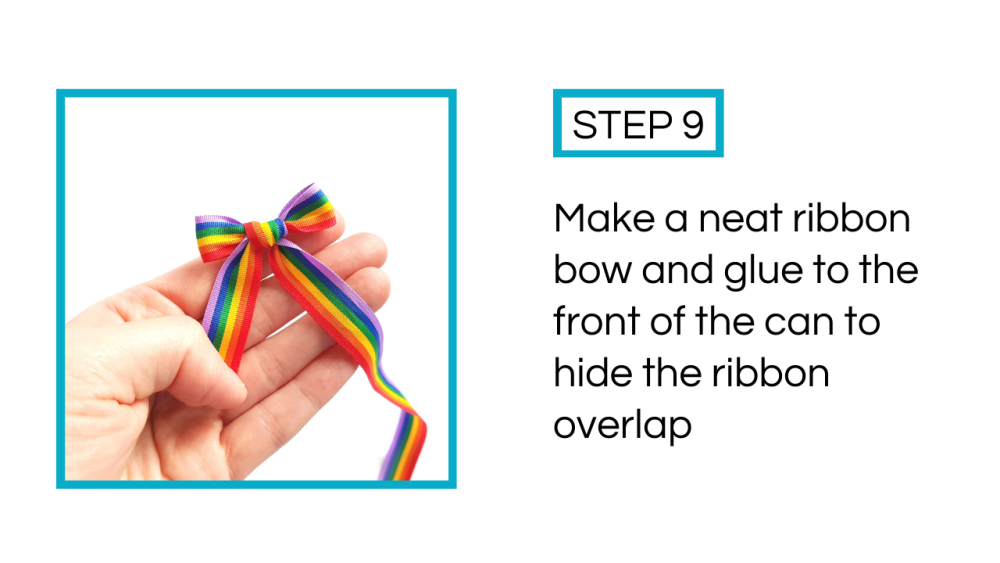
Step 9: Use the leftover ribbon to make a neat bow. Neatly trim the ends and use more glue, permanent tape roller or double sided tape to stick the bow on the front of the can, covering up where the ribbon overlaps.
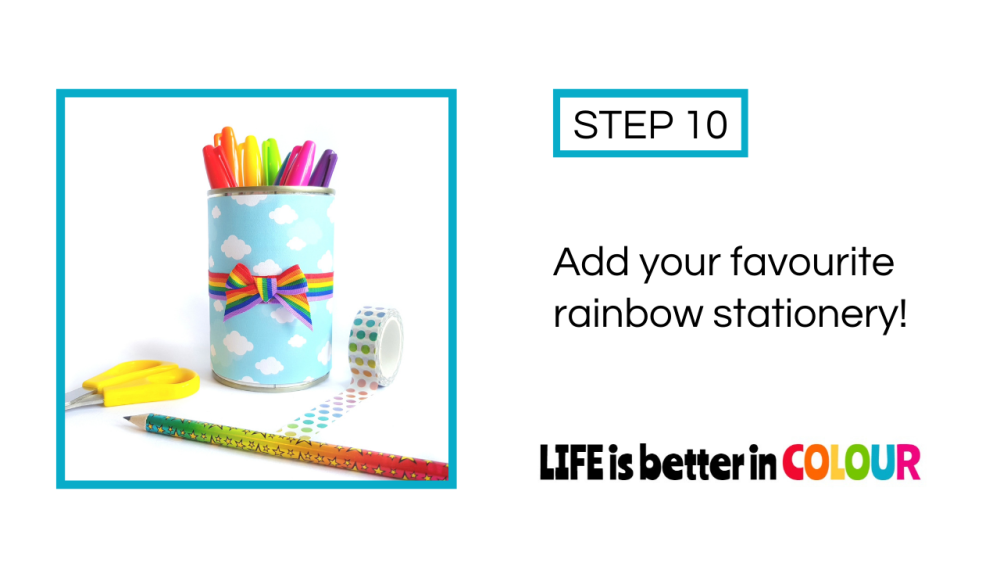
Step 10: Add your most colourful stationery and accessories to fill your desk with rainbows!
NB - All the items from this craft tutorial can be found in my online shop - including the cute pencil and washi tape in the last photo!

Add a comment: