Colourful Craft Tutorial - Making Rainbow Paper Chains
Posted on
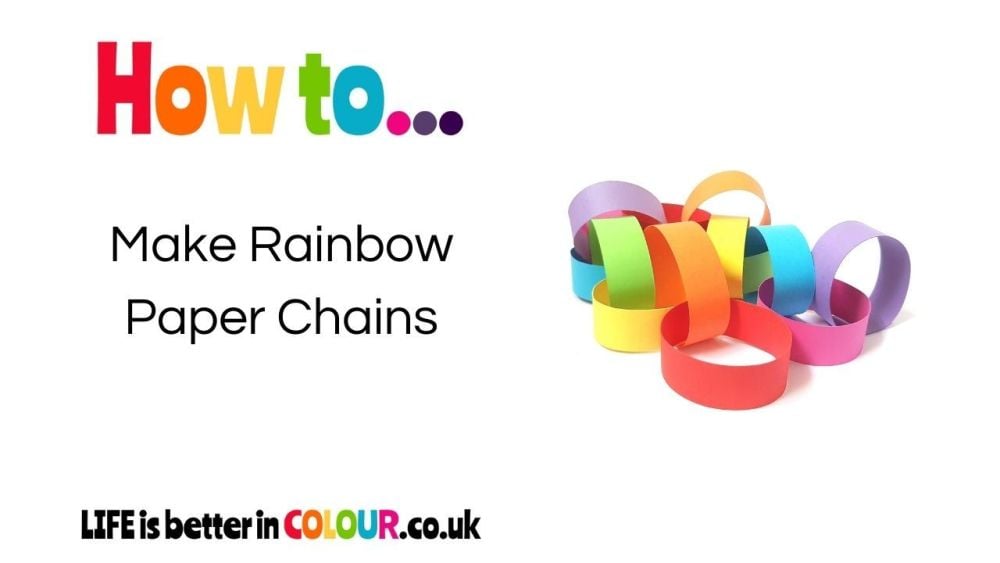
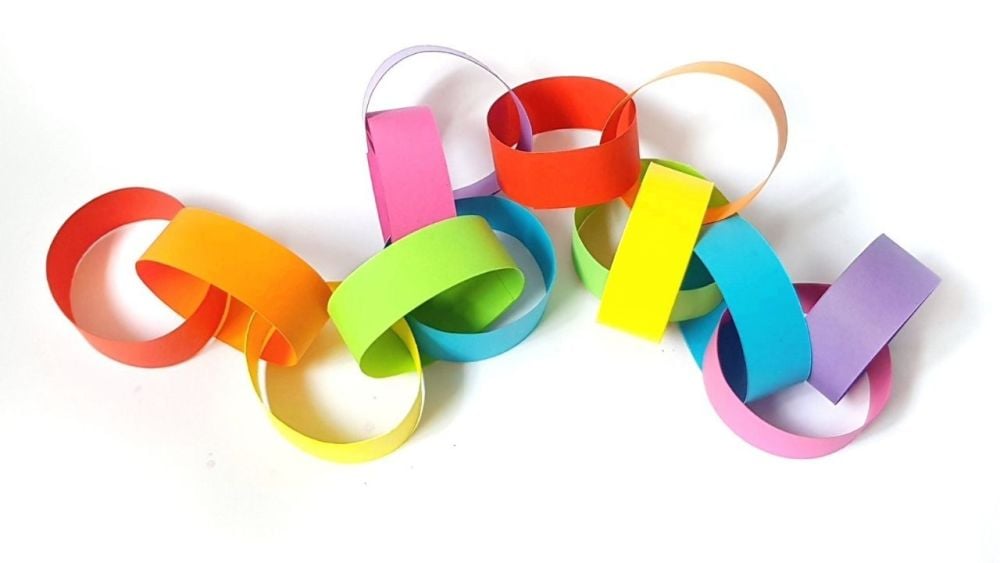
Today we're making Rainbow Paper Chains!
This craft tutorial is super quick and is suitable for colour loving crafters of all ages...
Whether you're looking for decorations for a rainbow themed birthday party, you need something to brighten up the children's bedrooms, or are thinking about making it a more colourful Christmas, rainbow paper chains are an easy way to inject a big burst of colour into any room.
Click to watch the 'How to Make Rainbow Paper Chains' video on my new YouTube channel, or scroll down for all the instructions on individual slides...
You can make homemade paper chains with thin strips of any paper or card... But you can also buy them ready cut!
The Rainbow Paper Chain Craft Kit from the LIFE is better in COLOUR online shop contains 28 strips of lightweight card in seven rainbow colours, enough to make just over 1.5 metres of bunting. All the strips are pre-cut to size with double sided tape already attached - so no need to fiddle about with sticky tape and scissors!
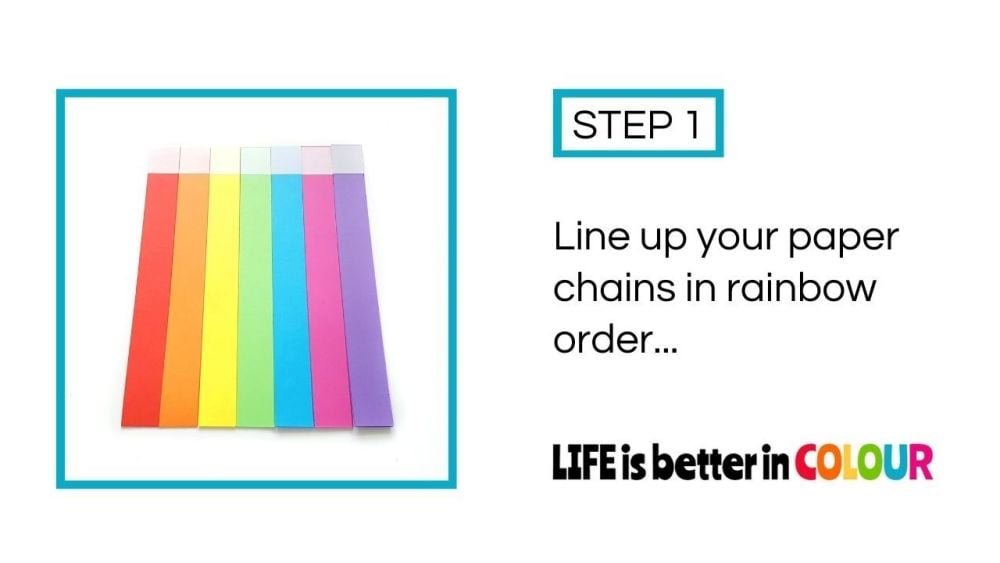
Step 1: Line up your paper chains in rainbow order
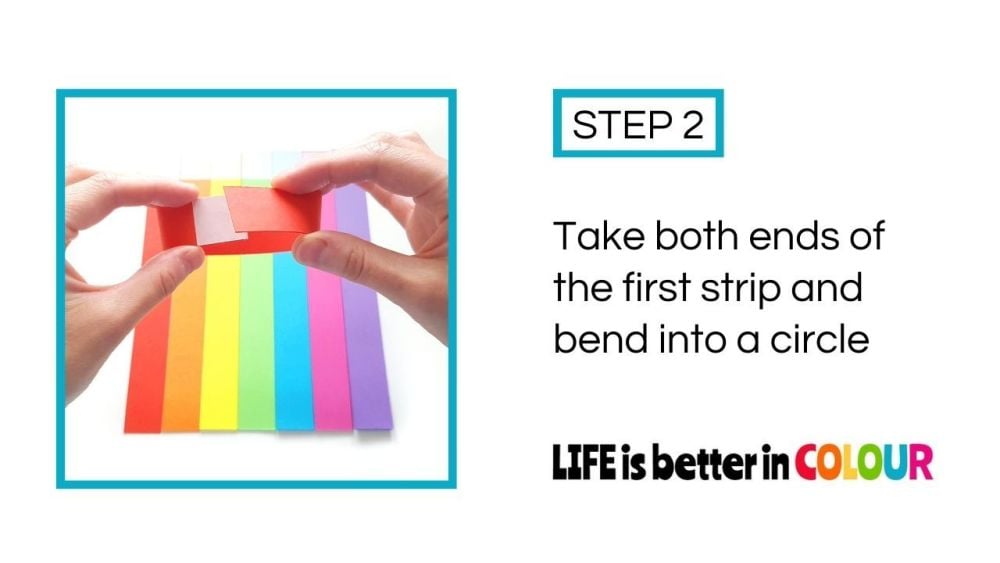
Step 2: Take both ends of the first strip and bend into a circle
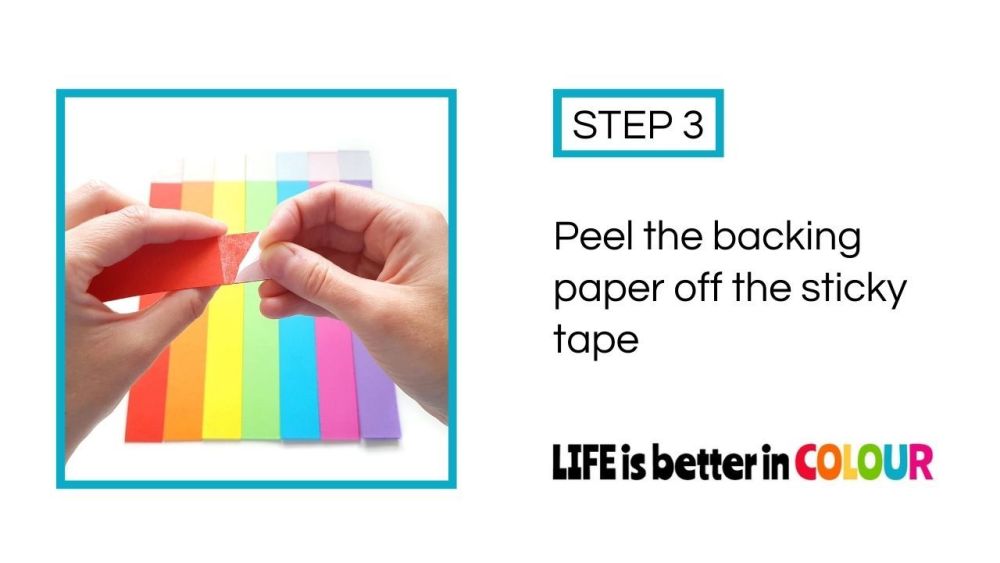
Step 3: Peel the backing paper off the sticky tape
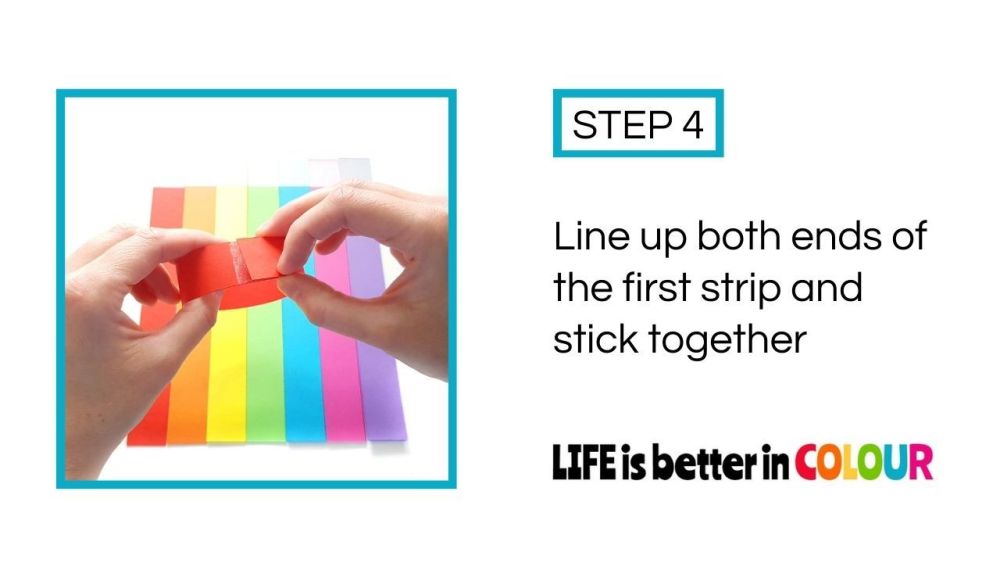
Step 4: Line up both ends of the first strip and stick together. Be careful! The tape is very sticky, so you'll need to make sure it lines up perfectly first time.
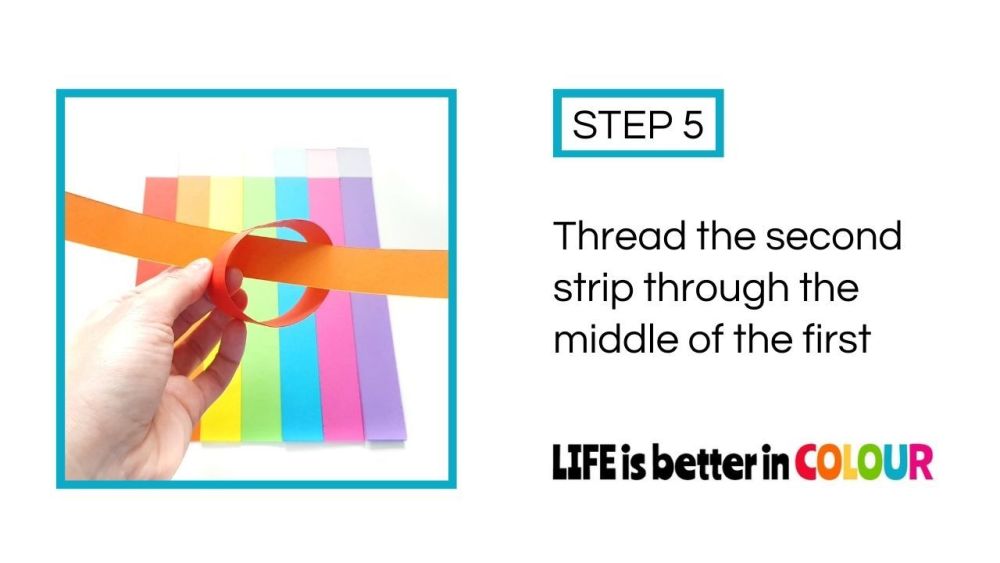
Step 5: Thread the second strip through the middle of the first.
TOP TIP - thread it through with the sticky tape side facing down, then when you curl it up into a circle, the tape side will then be facing up!
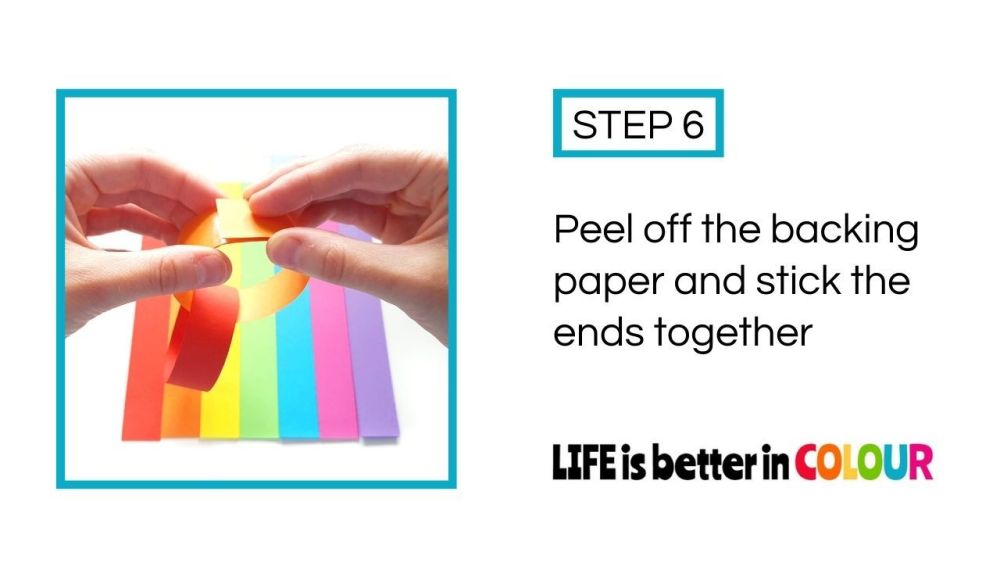
Step 6: Peel off the backing paper and stick the ends of the second strip together.
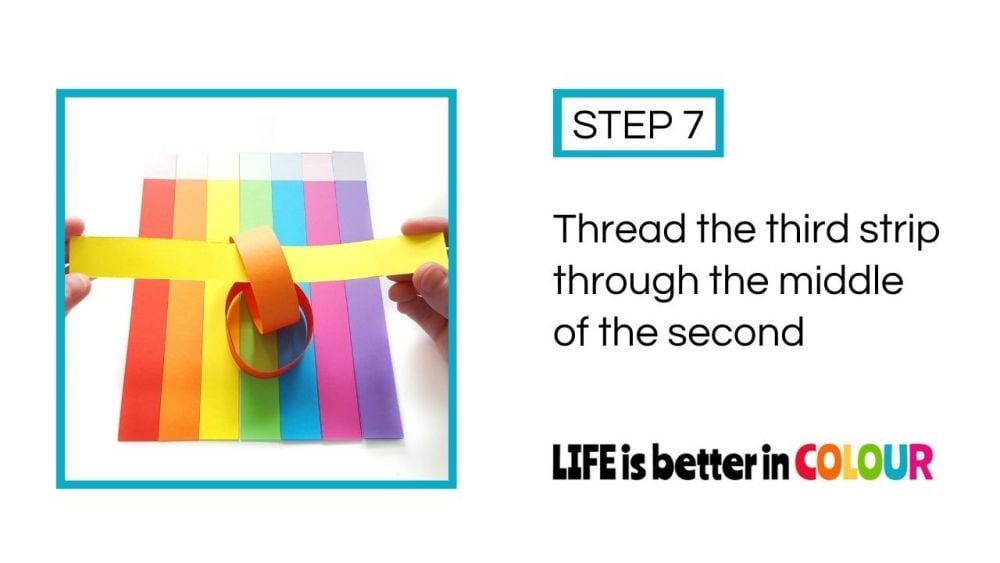
Step 7: Thread the third strip through the middle of the second
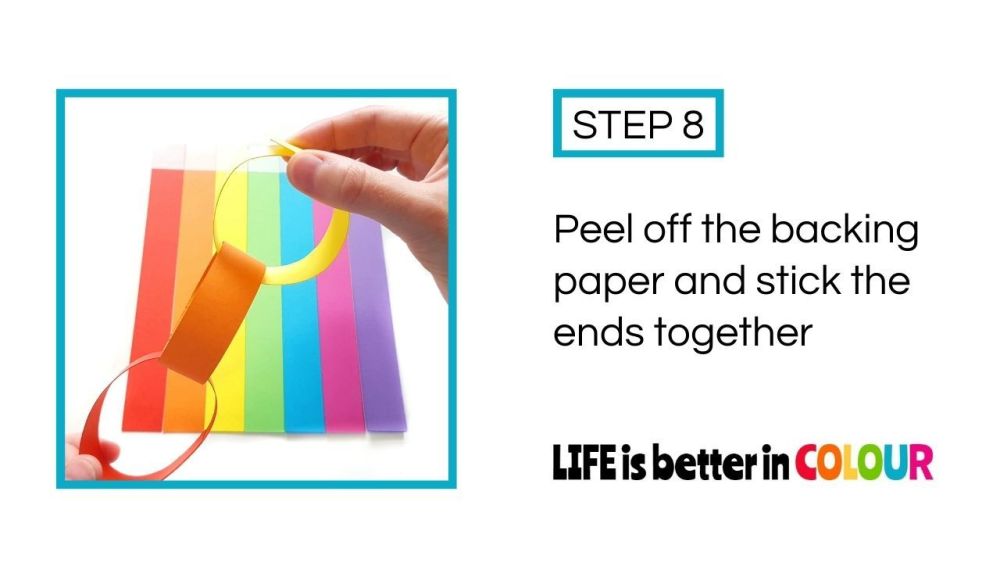
Step 8: Peel off the backing paper and stick the ends of the third strip together.
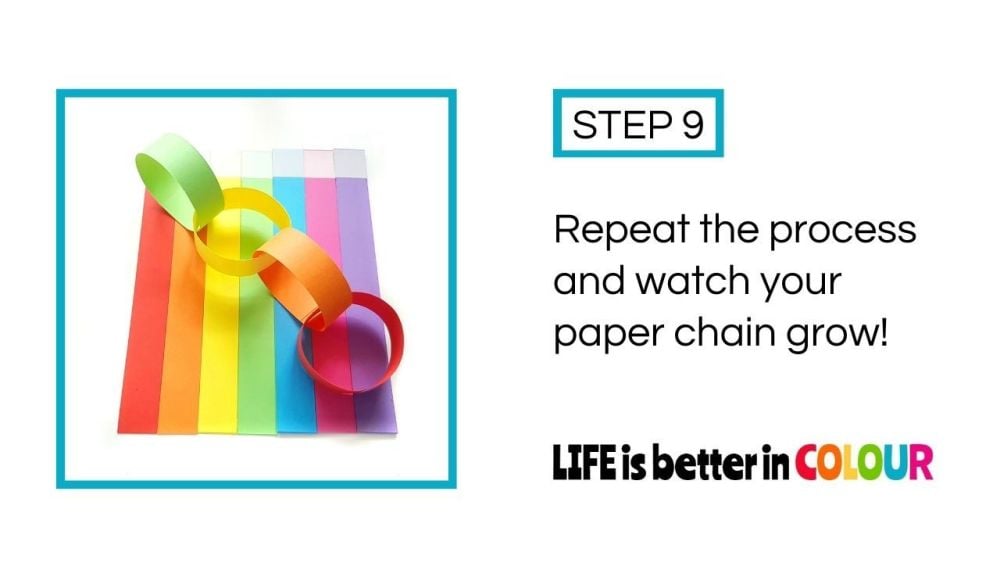
Step 9: Repeat the process and watch your paper chain grow!
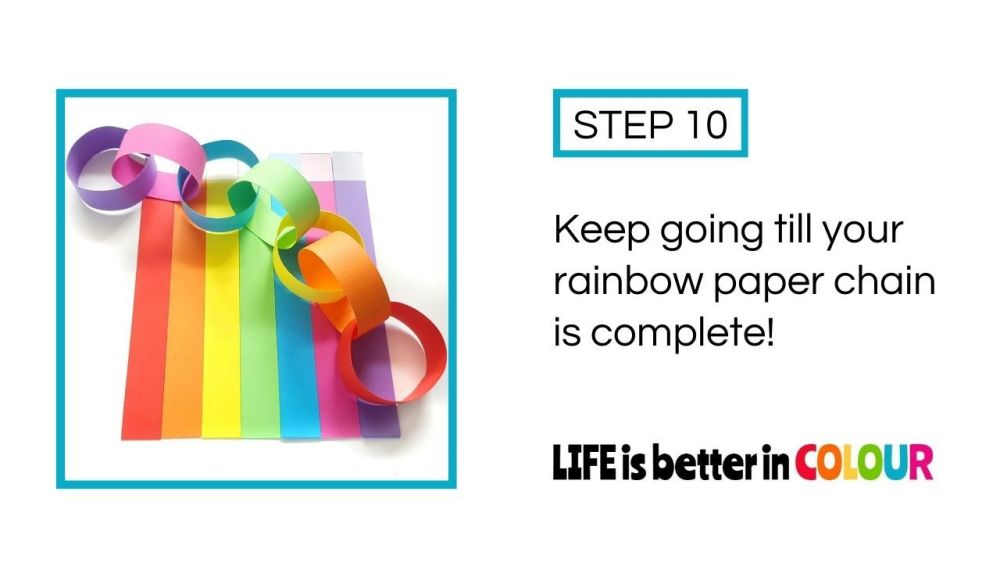
Step 10: Keep going till your rainbow paper chain is complete!

Add a comment: