Colourful Craft Tutorial - Five Minute Makeover - Pretty Pegs
Posted on

Washi tape is wonderful! It's one of the most versatile and easy to use craft materials and there are so many things you can do with it!
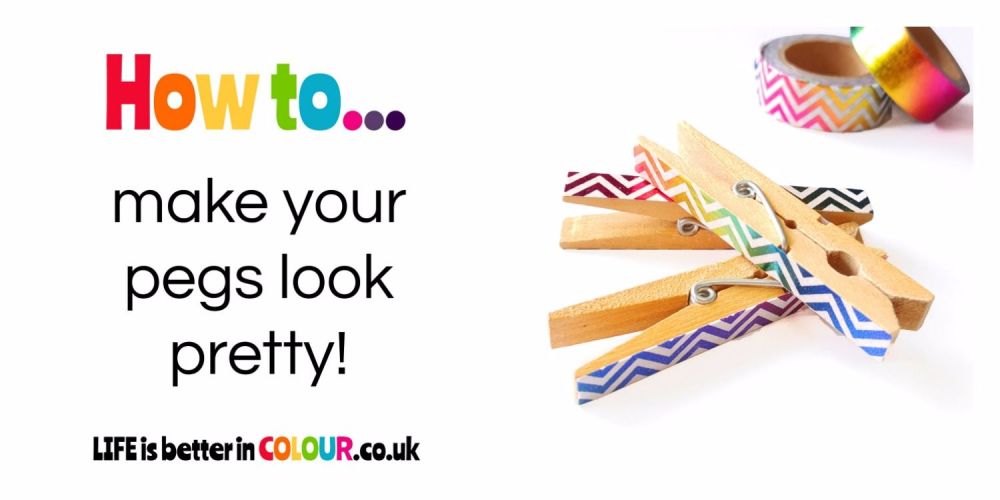
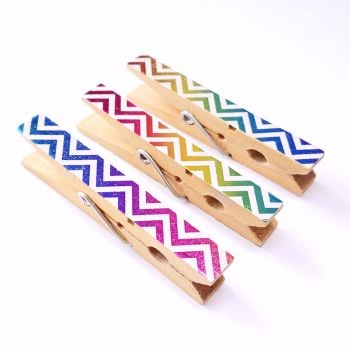
In today's Five Minute Makeover, I'm going to show you how to use washi tape to pretty-up your pegs so that hanging up the washing can always be colourful!

Step1 : Measure your washi tape
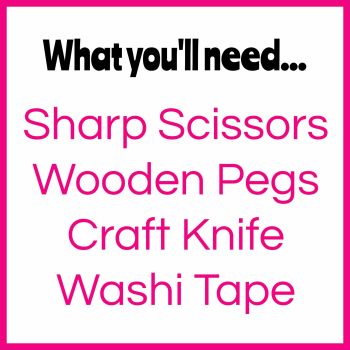
Find a suitable cutting surface and place your washi tape sticky side down. Line up the peg with the edge of the washi tape, leaving a little extra tape at either end. Cut the washi tape to the correct width by running the blade of the craft knife along the edge of the peg.
Step 2 : Attach the washi tape to the peg
Carefully peel the washi tape off the cutting surface and stick it to the peg making sure you smooth out any creases and ensure all edges are stuck down firmly.

TOP TIP - One of the wonderful things about washi tape is that it is easily removable. However if you would like your pretty peg makeover to be a little more hardwearing you can always use a little bit of glue at this stage to make sure the paper tape stays put!
Step 3 : Trim the excess washi tape
Use the sharp scissors to trim and neaten the ends off the washi tape
Step 4 : Repeat
Repeat steps one to 3 for the other side of the peg and continue until all the pegs in your house look pretty! (or you run out of washi tape!)


Add a comment: